How to Refinish Walnut Dining Chairs?
Share
How to Refinish Walnut Dining Chairs?
A Step-by-Step Guide
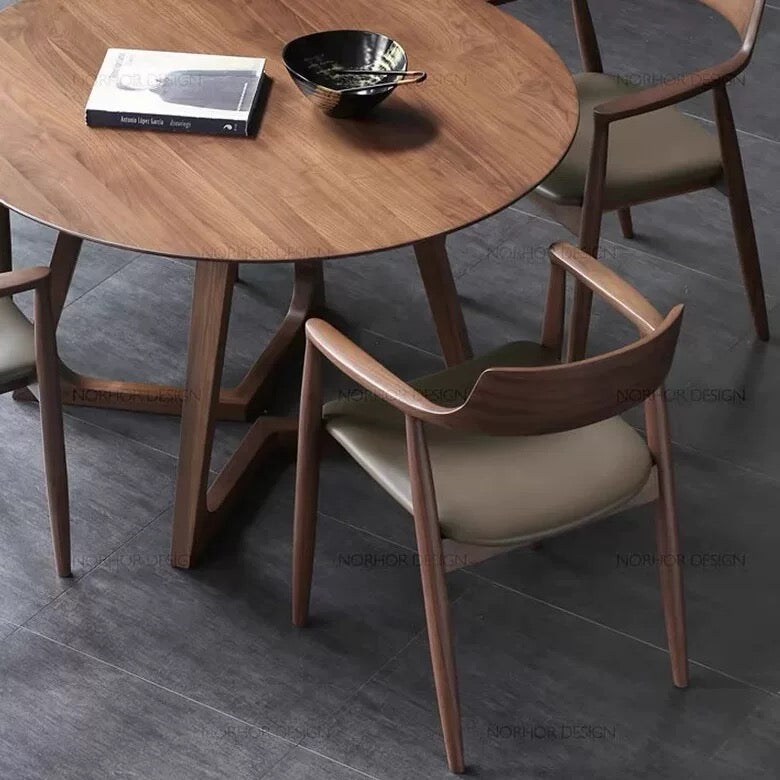
Walnut dining room chair are a timeless addition to any dining room or kitchen. Their rich, warm tones and sturdy construction make them a popular choice for both traditional and modern interiors. However, over time, even the most beautiful walnut dining chairs can show signs of wear and tear. If you have a set of walnut dining chairs that could use a little TLC, refinishing them can breathe new life into your dining space. In this article, we will guide you through the process of refinishing walnut dining chairs, ensuring they look as good as new.
Why Refinish Walnut Dining Chairs?
Refinishing your walnut dining chairs not only enhances their aesthetic appeal but also extends their lifespan. Scratches, dents, and fading can detract from the beauty of your walnut furniture. By refinishing, you can restore the original luster and color of the wood, making your dining room or kitchen feel fresh and inviting. Additionally, refinishing is a cost-effective alternative to purchasing new chairs, allowing you to maintain the character and history of your existing furniture.
Materials Needed
Before you begin the refinishing process, gather the following materials:
- Sandpaper (various grits: 80, 120, 220)
- Wood stain (preferably in walnut or a color of your choice)
- Clear wood finish (polyurethane or varnish)
- Paintbrushes (foam or natural bristle)
- Clean cloths
- Wood filler (if needed)
- Safety goggles and mask
- Drop cloth or newspaper (to protect your work area)
Step 1: Prepare Your Workspace
Choose a well-ventilated area to work on your walnut dining chairs. Lay down a drop cloth or newspaper to protect the floor from dust and spills. Ensure you have adequate lighting to see the details of the wood clearly.
Step 2: Remove Old Finish
Start by removing any existing finish from the chairs. Use coarse sandpaper (80 grit) to sand down the surfaces of the chairs. Focus on areas that show significant wear, such as the seat and armrests. Be sure to sand in the direction of the wood grain to avoid scratching the surface. Once the old finish is removed, switch to a finer sandpaper (120 grit) to smooth out the surface. Finish with 220 grit sandpaper for a silky-smooth finish.
Step 3: Repair Any Damage
Inspect your walnut dining chairs for any cracks, dents, or holes. If you find any imperfections, use wood filler to repair them. Apply the filler according to the manufacturer’s instructions, and once it dries, sand the area smooth to blend it with the surrounding wood.
Step 4: Clean the Surface
After sanding, it’s essential to clean the surface of the chairs to remove any dust and debris. Use a clean cloth slightly dampened with water to wipe down the chairs. Allow them to dry completely before proceeding to the next step.
Step 5: Apply Stain
Once the chairs are clean and dry, it’s time to apply the wood stain. Choose a stain that complements the walnut wood or opt for a different color to give your chairs a unique look. Using a paintbrush or a clean cloth, apply the stain evenly, following the direction of the wood grain. Allow the stain to penetrate for a few minutes, then wipe off any excess with a clean cloth. The longer you leave the stain on, the darker the color will be. Let the stain dry according to the manufacturer’s instructions.
Step 6: Apply Clear Finish
After the stain has dried, it’s time to protect your newly refinished chairs with a clear wood finish. Polyurethane is a popular choice for its durability and resistance to scratches. Using a clean paintbrush, apply a thin coat of clear finish to the chairs, again following the direction of the wood grain. Allow the first coat to dry completely, then lightly sand with 220 grit sandpaper to ensure a smooth finish. Wipe away any dust and apply a second coat. For added protection, consider applying a third coat.
Step 7: Final Touches
Once the final coat of clear finish has dried, inspect your walnut dining chairs for any imperfections. If necessary, lightly sand any rough spots and apply an additional coat of finish. Finally, allow the chairs to cure for a few days before using them to ensure the finish is fully set.
Conclusion
Refinishing walnut dining chairs is a rewarding project that can transform your dining room or kitchen. By following these steps, you can restore the beauty of your chairs and enjoy them for many more years. Whether you have a set of vintage walnut dining chairs or modern kitchen dining chairs, refinishing them can enhance their appeal and functionality. So roll up your sleeves, gather your materials, and get started on this satisfying DIY project! Your dining space will thank you.